When
Young House Love and
Bower Power released the Pinterest Challenge last week and opened it up to all their readers, I was so excited to get started! As a newbie to the blogging world, (long time reader, short time writer) I didn’t want to disappoint, so I got straight to work.
When I
announced the challenge, I gave a sneak peek into the two inspirations I was going to pick from. Both lamp shade ideas, one made of coffee filters and the other made of wax paper! In all honesty, the deciding factor came down to what I had on hand.
Note: I am not exactly the most patient person and crafting is no different, when I am ready to go, I am ready to go NOW!
 |
| Capiz Chandelier made from wax paper (via pinterest) |
 |
| coffee filter light pendant (via pinterest) |
Want to know what I choose, how I did it, and how it turned out? Drum Roll please….
 |
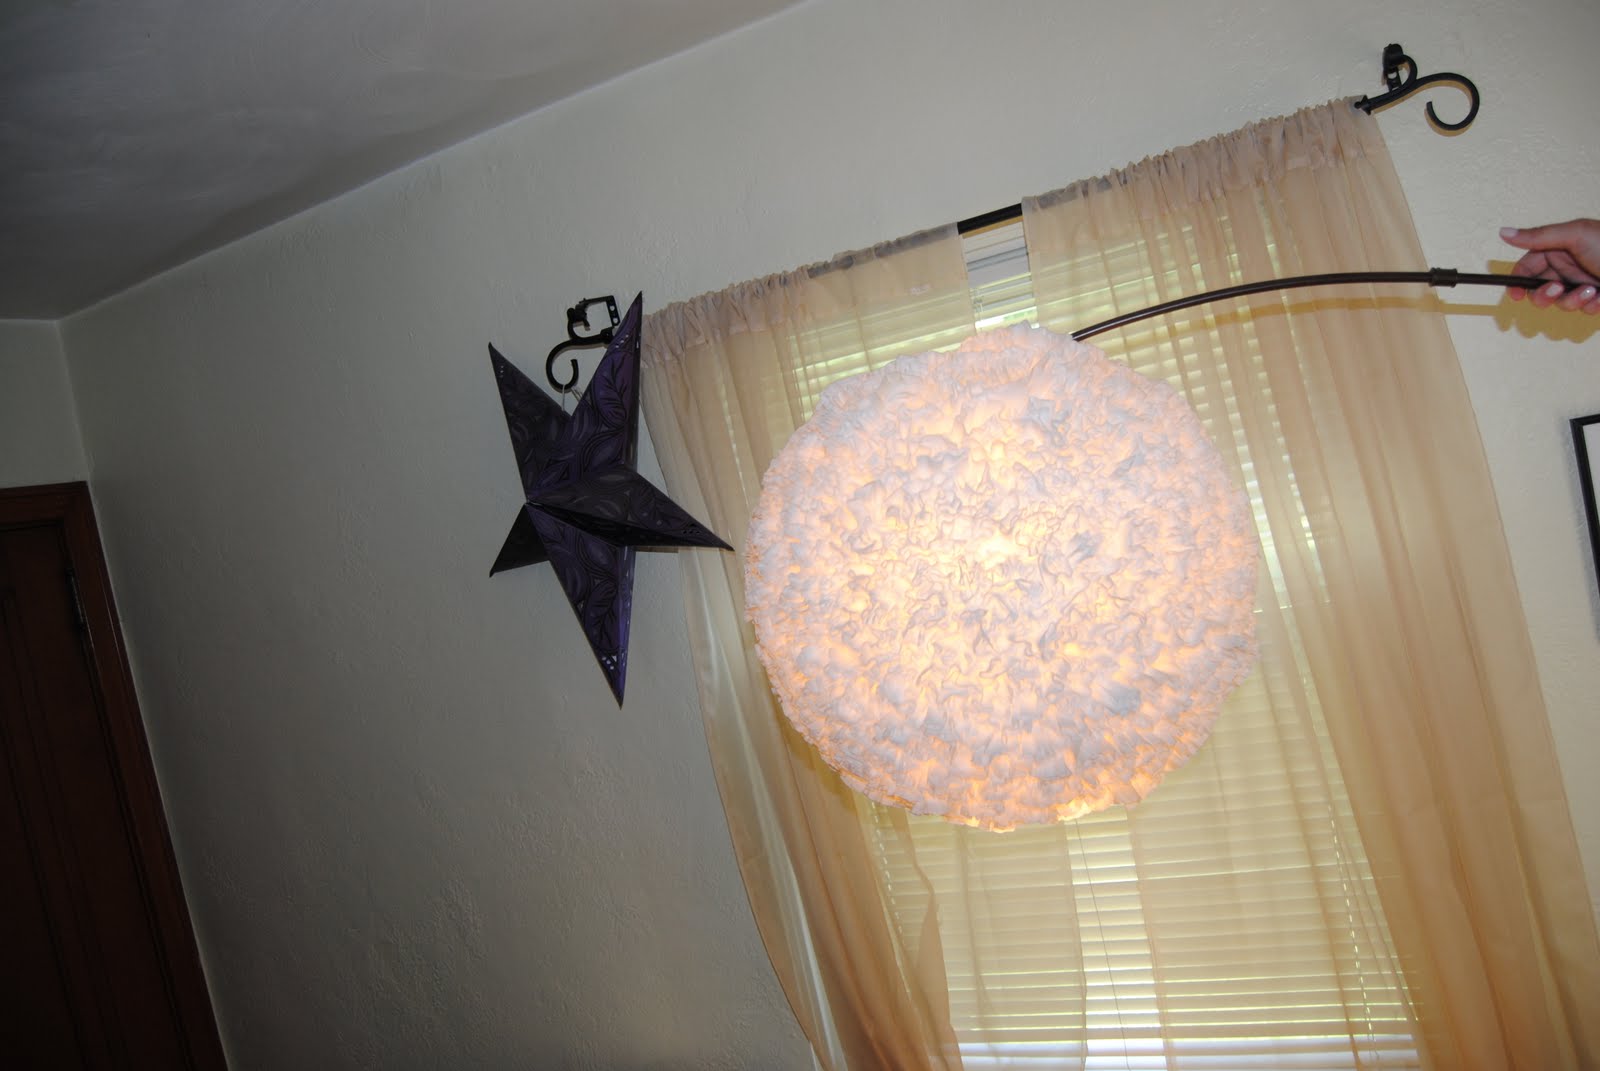
| My finished product! | |
|
Having more filters than wax paper on hand made the choice easy and the coffee filter lamp had won! I cannot tell you how easy this project was to make, just a few simple items and some extra time in front of the TV and before you know it, you have a great new lamp.
Materials Needed:
Paper Lantern in your choice of size (I already had one hanging from our floor lamp that was in need of some serious TLC), coffee filters (the number of filters you need will depend on the size of your shade, I used about 400) Glue gun, and glue sticks.
 |
| Floor lamp before filters (The lamp was bought from Target about 4 yrs ago) |
 |
| Coffee filters and glue gun (my new one is cordless!!!!) |
Step by Step ooh baby Tutorial:
(you caught me, I was just singing New Kids on the Block while I typed that…don’t judge me!)
 |
| Step 1. Gather the filter at the bottom and squeeze. |
 |
| Do a few filters a time and set them off to the side, it will make your life easier when your ready to glue! |
 |
| Step 2. Apply a generous amount of glue to the paper lantern in small to medium square sections, then take the folded filters and apply the base of the filter to the lantern. |
 |
| I wanted my lamp shade very full, so I really packed the filters in tightly. |
Step 3 there are no more steps! It really was that easy and now you are ready to hang that beaut, step back and admire your work.
 |
| A good start, about one hour in. |
 |
| It took me about 3 hours to complete, start to finish. I only know this because I was able to catch up on the first three episodes of Design Star on demand! |
Total Cost: $19.17 (an emergency back-up of filters & a desperately needed new glue gun)
I am so happy with how this turned out! Thanks to Sherry and Katie for giving me the swift kick in the pants to stop pinning and start doing! We should do this more often.
 |
| Finished lamp with the light on- I love the glow it gives off now! |
|
| Detail of the the finished product. |
Did you take part in the Pinterest Challenge? If so, I would love to see and if not, it is never too late! Pick an inspiration picture of a craft that you have been meaning to accomplish and get going. Be sure to share your creations!


 var _gaq = _gaq || [];
_gaq.push(['_setAccount', 'UA-25753279-1']);
_gaq.push(['_trackPageview']);
(function() {
var ga = document.createElement('script'); ga.type = 'text/javascript'; ga.async = true;
ga.src = ('https:' == document.location.protocol ? 'https://ssl' : 'http://www') + '.google-analytics.com/ga.js';
var s = document.getElementsByTagName('script')[0]; s.parentNode.insertBefore(ga, s);
})();
var _gaq = _gaq || [];
_gaq.push(['_setAccount', 'UA-25753279-1']);
_gaq.push(['_trackPageview']);
(function() {
var ga = document.createElement('script'); ga.type = 'text/javascript'; ga.async = true;
ga.src = ('https:' == document.location.protocol ? 'https://ssl' : 'http://www') + '.google-analytics.com/ga.js';
var s = document.getElementsByTagName('script')[0]; s.parentNode.insertBefore(ga, s);
})();