Slowly but surely, I am gathering the frames and images I want to display for the picture gallery planned for the dining room. Editing the amount of images is looking like the hardest part, but that is what I love about the whole idea in the first place. I can easily change and rearrange according to my mood. Since the hubs and I only have “puppy-kids” right now, I wanted to include them in the gallery. I knew these pictures of them as little babies had to be there…
 |
| Our baby girl, Brindi (are you dying yet?) |
 |
| Baby boy, Brutis (they melt my heart!) |
…but was also torn as to include more grown up pics as well. Too many pictures of dogs? OK, I was starting to agree, but then I thought about silhouettes… of the dogs! Although very traditional and not exactly my style, I knew I could make them more modern by forgoing the classic white and black design. I am thrilled with how they turned out; I was able to include more pictures of my babies without being “that” lady and was able to incorporate some texture and pattern to the gallery wall in the process.
 |
| Finished product |
There are a ton of tutorials out there on how to make silhouettes, so I am not going to bore you with the details. However, it is such a simple project; these few images should be able to get you well on your way!
 |
| 1. Find a picture of your subject's profile and print the images to fit your frame. |
 |
| 2. With a pair of scissors, cut out the shape our your subjects head, leaving an extended neck. |
 |
| 3. Trace the photo cut-out on your choice of craft paper with a pen or marker. I think a marker in the same color of the sheet is best, because it gives you a thicker line to follow for cutting. (I used a patterned velum sheet) |
 |
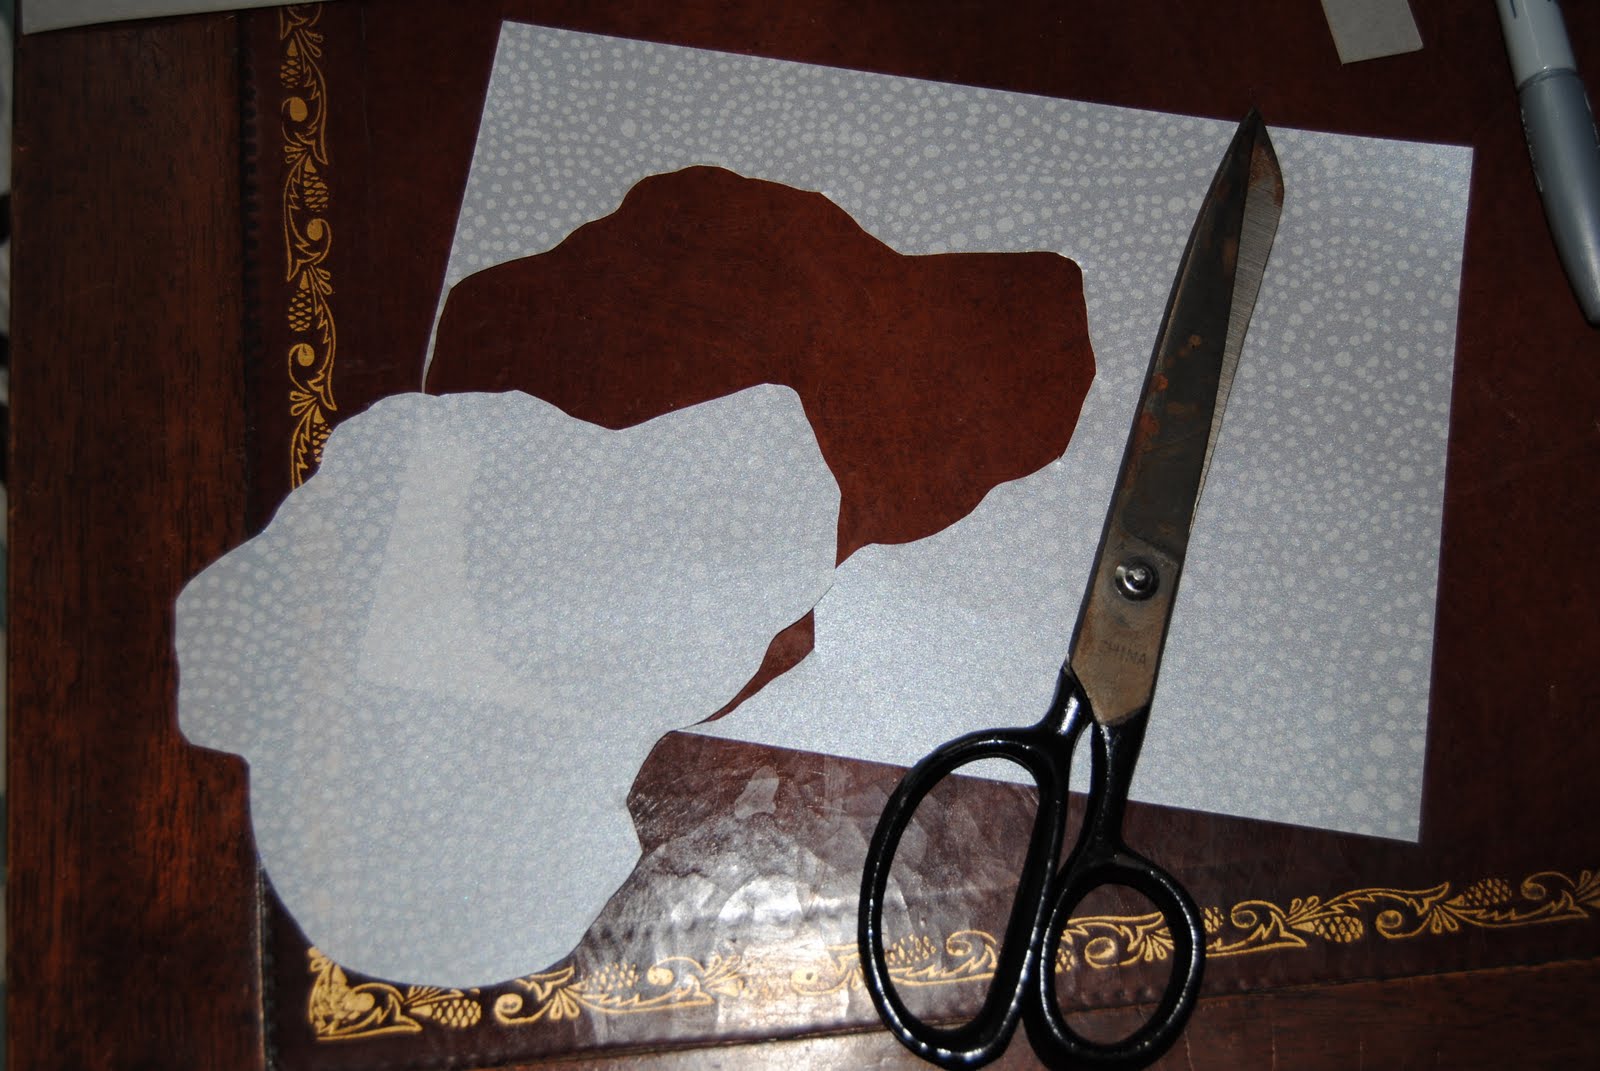
| 4. With your trusty scissors again, cut out the image from the paper. Be sure to follow your lines closely! |
|
|
 |
| 5. Your now finished with the silhouette and are ready to finish! Place the image on a contrasting color sheet of paper that is sized to your frame. You can use glue to adhere the image if you wish. (Since my silhouette is on thin, see through velum, I skipped this step.) |
 |
| 6. Place the papers into your frame and voila! |
Six simple steps to go from...
|
| Brindi on the left and Brutis to the right |
...to this...
 |
| Ready to hang silhouettes of the the puppy-kids (Brindi-L & Brutis-R) |
Materials needed:
- Paper in two contrasting colors (one dark, one light.) I had these sheets left over from our homemade wedding programs but any craft paper will do. TIP: to make your silhouettes more modern, choose a pattern for one sheet. You can either use the pattern for the actual cutout or for the back ground, your choice!
- A picture of your family member's profile. I got lucky and found this picture of both dogs looking in the same direction, in one picture! You can either search for an existing picture or simply have your model pose (much easier for the non furry subjects!)
- Picture frames. The size of your frame will determine how big or small your image should be.
- Scissors and a pen/marker.
Total Cost: Free! I had everything on hand, but I would estimate costs at around $5.
The biggest hurdle will be getting a profile picture and having a steady hand for cutting. I love the idea of updating your silhouettes as your family grows, just add a new image every few years to show how your family has changed over time. This would make for a great family collage on its own!
Anyone have a great project planned for the weekend? I think I might paint my dining room chairs! I will let you know how they turn out (fingers crossed.)
Happy weekend to all!


 var _gaq = _gaq || [];
_gaq.push(['_setAccount', 'UA-25753279-1']);
_gaq.push(['_trackPageview']);
(function() {
var ga = document.createElement('script'); ga.type = 'text/javascript'; ga.async = true;
ga.src = ('https:' == document.location.protocol ? 'https://ssl' : 'http://www') + '.google-analytics.com/ga.js';
var s = document.getElementsByTagName('script')[0]; s.parentNode.insertBefore(ga, s);
})();
var _gaq = _gaq || [];
_gaq.push(['_setAccount', 'UA-25753279-1']);
_gaq.push(['_trackPageview']);
(function() {
var ga = document.createElement('script'); ga.type = 'text/javascript'; ga.async = true;
ga.src = ('https:' == document.location.protocol ? 'https://ssl' : 'http://www') + '.google-analytics.com/ga.js';
var s = document.getElementsByTagName('script')[0]; s.parentNode.insertBefore(ga, s);
})();


CUTE! I love a traditional silhouette, but these are so great, too.
ReplyDelete